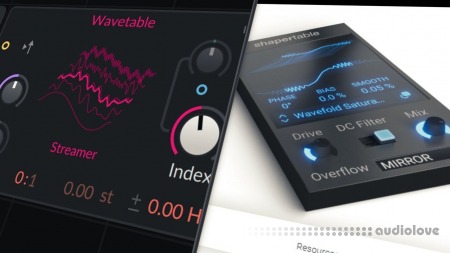
Polarity Music Shapertable For Bitwig

In this tutorial, I explored a unique approach to creating distortion effects in Bitwig by utilizing wave tables instead of traditional transfer curves. Here's a summary of the key points:
Introduction to a Distortion Device Using Wave Tables: Instead of adjusting a transfer curve, I demonstrated loading a wave table to morph through and create various distortion effects. This includes features like a DC filter, drive, and mix knob.
Setup in Bitwig: I used Bitwig's Polymer synthesizer with a sine wave and an FX grid. Inside the FX grid, I added a wave table oscillator and manipulated its phase to control the cycle's position, aiming for a unique distortion effect.
Implementing a DC Filter: Due to wave tables not being designed for transfer curves (which usually require the waveform to cross the zero point), I encountered issues like DC offset. To resolve this, I introduced a high-pass filter as a DC filter to eliminate low-frequency bias, ensuring the signal centers around the zero line.
Creating Distortion: By adjusting the setup, I could create various distortion effects. The flexibility of using wave tables allows for more complex and diverse distortions compared to a single static transfer curve.
Alternative Method with Transfer Curves: For those not inclined to use wave tables, I showed how to achieve a similar effect by merging multiple transfer curves and blending between them. This method also allows for creative distortion effects but through a different workflow.
Conclusion and Application: The tutorial concludes with demonstrating the practical application of these techniques to create new and unique distortion effects, highlighting the versatility and creative potential within Bitwig's environment.
This approach offers a fresh perspective on designing distortion effects, showcasing the flexibility of Bitwig's modulation capabilities and the creative possibilities when combining synthesis techniques.
Home page
DOWNLOAD
