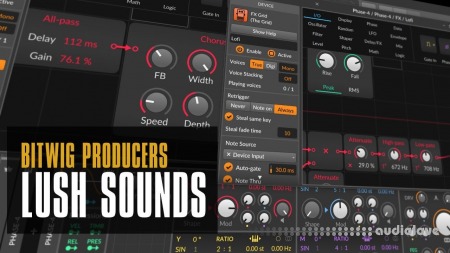
Polarity Music Lush Sounds from Scratch

In today's video, I walked viewers through my process of creating unique and lush sounds from scratch using Bitwig Studio. Here are the key takeaways:
Starting Point: I usually begin a new track with pads or keys to set the mood and the key for the track. This time is no different.
Phase 4 Synthesizer in Bitwig
Created a new instrument track and selected the Phase 4 synthesizer.
Adjusted the first and second operators to create a lush digital piano sound.
Creating a Custom Reverb with FX Grid
Instead of using Bitwig's default reverb, I opted for a custom approach using the FX Grid.
Employed various modules like all-pass filters, chorus, and phasers to create a unique reverb chain.
Adding Lo-fi Effects
Used white and pink noise generators to add a vinyl-like texture to the track.
Introduced amplitude modulation and an envelope follower to make the noise reactive to the audio input.
Pitch Shifting Effect
Demonstrated an updated pitch-shifting technique using mod delays and custom curves to remove the 'crackling' noise.
Explored multiple other modules for an intricate sound design.
Combining Multiple Reverb Types
Instead of using just one reverb plugin, I combined convolution, algorithmic reverbs, and delays for a more nuanced sound.
General Tips
Encouraged viewers to experiment with Bitwig's grid for unique sound design.
Emphasized the importance of creating custom sounds and effects instead of relying on presets from VST plugins.
In summary, the tutorial aimed to inspire viewers to take full advantage of Bitwig Studio's capabilities for a more creative and personalized approach to music production. Subscribe and stay tuned for more.
Home page
DOWNLOAD
